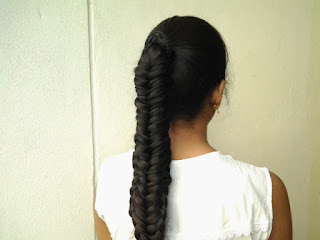
Milk Maid Braids | Easy summer hairstyles| Miss Supriya (Step by step written explanation)
Step 1 -
Create a center partion. This hairstyle looks best with a perfectly straight center part all the way from your forehead to the nape of your neck.
Step 2-
Decide if you want to leave any hair outside of the braids. This hairstyle can be done in two different ways: you can braid all of your hair or you can leave a small amount of hair outside of the braids in the front to frame your face. The choice is entirely up to you.
Step 3-
Decide how tight you want your braid to be. No matter which type of braid you decide to use for this hairstyle, you can choose to make your braid either very tight or a little looser. If you want your finished hairstyle to look very polished, try to make your braids tight, but if you want it to be a little messier and more casual, make them looser.
Step 4-
Secure the braids at the end. Once you've finished both braids, take one and place it across the top of your head, securing it behind your opposite ear with bobby pins. Then do the same with the opposite braid, placing it just behind the first one and securing it behind the opposite ear.
Step 5-
Hide the ends of the braids. When securing your braids, do your best to hide the elastic bands and the ends of your hair that aren't braided. You can do this by gently tucking each end under the opposite braid.
Step 6-
Style the front of your hair. If you chose to leave a few strands of hair outside of your braids, you can style them however you like.
Now you'll have a stylish braided look that will look amazing all day long.

Comments
Post a Comment